

Herbal wellness kit essentials list: your 2026 guide
A solid herbal wellness kit covers three categories: the herbs themselves, the tools to prepare them, and the supplies to store and use them safely. For most people starting out in the UK, that means stocking 3–5 core herbs such as chamomile, peppermint, and calendula; gathering preparation tools including a mortar and pestle, fine mesh strainer, kitchen scale, and glass jars; and keeping basic first-aid items like adhesive bandages and antiseptic wipes close to your workspace.
Here is a quick-reference list of what belongs in a foundational kit:
- Core herbs: chamomile (calming, digestive), peppermint (digestive, respiratory), calendula (skin healing), lemon balm (stress, sleep), ginger (nausea, circulation)
- Preparation tools: mortar and pestle, kitchen scale, fine mesh strainer, glass funnel, dropper bottles, double boiler
- Storage: amber or cobalt glass jars, airtight tins, labels with content name and date
- First-aid basics: adhesive bandages, sterile gauze, antiseptic wipes, medical tape, tweezers
- Safety gear: fine-dust mask, nitrile gloves
Pro Tip: Start with two or three herbs you already reach for regularly, such as chamomile tea or peppermint for digestion. Build outward from actual use, not aspiration. A kit that grows with your habits will always serve you better than one assembled all at once and left on a shelf.
Table of Contents
- Which herbs should you stock first in your wellness kit?
- What tools do you need to prepare herbal remedies at home?
- How to store your herbs and label everything correctly
- What first-aid supplies belong in your herbal kit?
- Expert guidance for building and using your kit safely
- Getgutted’s herbal wellness kits: ready when you are
- Key takeaways
Which herbs should you stock first in your wellness kit?
The herbs you choose set the character of your entire kit. Prioritise plants with broad, well-documented uses so each one earns its space several times over.
Chamomile (Matricaria chamomilla) is the most versatile starting point. Brewed as a tea, it supports digestion and eases mild anxiety; applied topically in a diluted infusion, it soothes irritated or inflamed skin. It is widely available as certified organic dried flowers from UK suppliers and is gentle enough for most adults.
Peppermint (Mentha × piperita) covers digestive discomfort, tension headaches when applied as a diluted oil, and respiratory congestion. It is one of the most studied herbs for irritable bowel symptoms and doubles as a flavouring that makes other herbal teas more palatable.
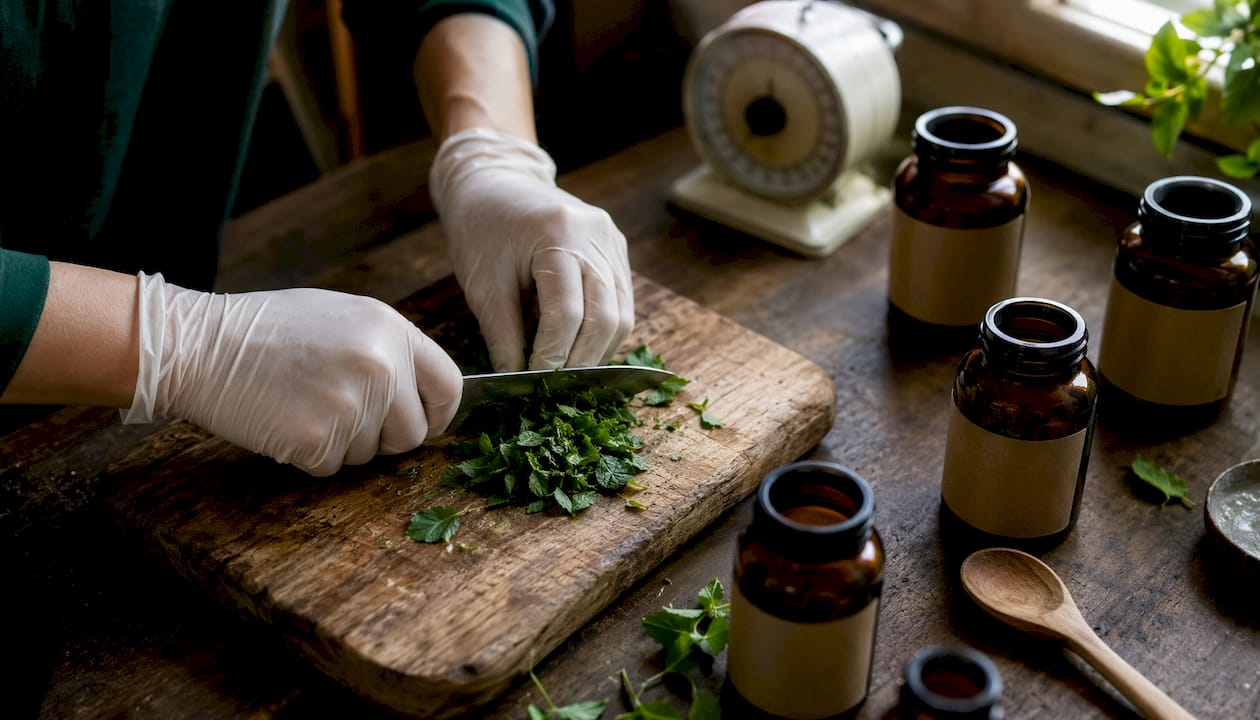
Calendula (Calendula officinalis) is the kit’s skin specialist. Its petals infuse readily into carrier oils such as olive or sweet almond oil, producing a salve base with well-regarded wound-healing and anti-inflammatory properties. For anyone making their first herbal salve, calendula is the natural starting point.
Lemon balm (Melissa officinalis) complements chamomile for sleep and stress support, and it grows easily in UK gardens if you want to dry your own. Ginger (Zingiber officinale) rounds out the digestive category and adds circulatory warmth, particularly useful through British winters.
Pro Tip: Buying individual organic dried herbs from reputable UK suppliers gives you far more control over quality and quantity than pre-packaged seed or herb kits. You can choose quality herbal products in the exact amounts you need, avoiding the waste that comes from bulk packs of herbs you rarely use.
On wildcrafting: harvesting from the wild is legal in the UK for personal use on most public land, but it carries real risks. Misidentification is the primary danger, and urban or roadside plants accumulate pollutants. For beginners, purchasing from certified organic suppliers is the safer and more consistent route. Once you are confident in plant identification, adding a small amount of foraged material can deepen your practice, but it should supplement rather than replace sourced herbs.
What tools do you need to prepare herbal remedies at home?
Good tools make the difference between a preparation that works and one that does not. The herbalist’s toolkit for home use is not complicated, but each item has a specific job.
- Mortar and pestle: the foundation of herb processing. Use it to grind dried flowers, crack seeds, and break down roots before infusing. Granite or ceramic versions are easiest to clean and most durable.
- Kitchen scale: weight-based measurements are far more accurate than volume for dried herbs, which vary enormously in density. A scale accurate to 1g is sufficient for home use.
- Fine mesh strainer and cheesecloth: for separating plant material from finished teas, tinctures, and infused oils. Having both gives you flexibility depending on how fine a strain you need.
- Glass funnel: transfers liquids into dropper bottles and storage jars without spillage or contamination.
- Dropper bottles (amber glass, 30ml–100ml): for tinctures and herbal oils. The amber glass blocks light degradation; the dropper allows precise dosing.
- Double boiler: for making salves and infused oils without scorching. A heatproof bowl over a saucepan of simmering water works perfectly well.
- Measuring spoons: for smaller quantities where a scale is impractical, such as adding dried herb to a tea blend.
On safety gear: when grinding powdered or finely dried herbs, a fine-dust mask and nitrile gloves are not optional extras. Airborne herb particles irritate the respiratory tract and mucous membranes, particularly with potent plants like ginger or cayenne. Keep a dedicated set of tools for herbal work rather than sharing with food preparation, and clean everything thoroughly between batches to prevent cross-contamination.
Pro Tip: Designate a specific surface in your kitchen as your preparation zone. Heat-resistant and easy to wipe down is what you want. Keep your storage area entirely separate, away from direct light and steam. Preparation and storage have opposite environmental needs, and mixing them degrades both your tools and your herbs.
For a practical walkthrough of making your first preparations, Getgutted’s guide on herbal infusion techniques covers the process step by step.
How to store your herbs and label everything correctly
Storage is where most home herbal kits fall short. Herbs lose potency when exposed to light, moisture, heat, or air, and the degradation is often invisible until you notice the remedy simply is not working.
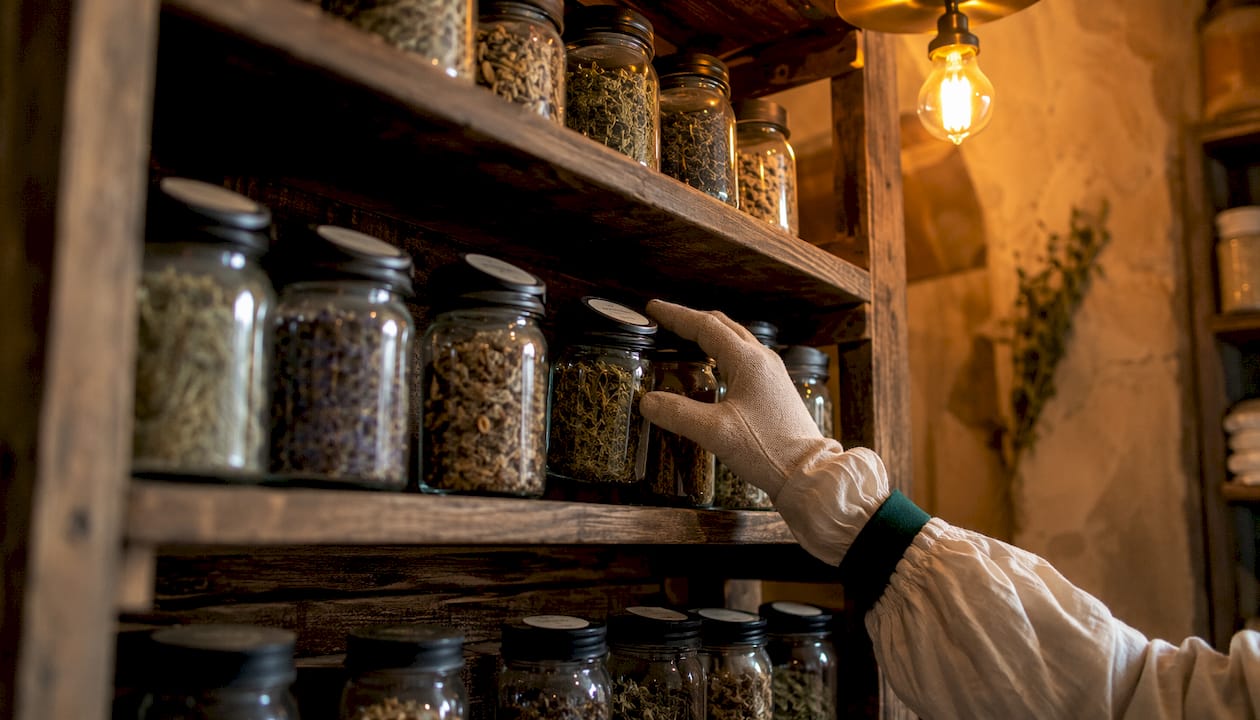
The best containers are amber or cobalt glass jars with airtight lids. Both colours filter out the UV light that breaks down volatile compounds and chlorophyll. Clear glass is fine for a dark cupboard but offers no protection if the jar ever sits on a worktop. Tins work well for salves and balms. Avoid plastic for anything oil-based, as oils can leach compounds from certain plastics over time.
| Container type | Best used for | Key advantage |
|---|---|---|
| Amber glass jar (wide-mouth) | Dried herbs, teas, powders | UV protection, airtight seal, easy to clean |
| Cobalt glass dropper bottle | Tinctures, herbal oils | Light protection, precise dispensing |
| Stainless steel tin | Salves, balms, lip care | Durable, portable, no light risk |
| Clear glass jar (dark cupboard only) | Short-term storage, daily-use teas | Low cost, widely available |
| Airtight ceramic jar | Dried roots, barks | Moisture-proof, aesthetically neutral |
Labelling is non-negotiable. Every container should carry the herb name (common and Latin where possible), the preparation date, the form (dried, tincture, infused oil), and any dosage notes you have recorded. A label without a date is almost useless because dried herbs do not last indefinitely. Start small batches so you use them before quality drops, and review your stock regularly to remove anything that has lost its colour, scent, or potency.
Keep your storage area cool, dark, and dry. A kitchen cupboard away from the cooker and kettle is ideal. Avoid bathroom cabinets, which are humid, and windowsills, which expose jars to direct light and temperature swings.
What first-aid supplies belong in your herbal kit?
A herbal wellness kit is not a substitute for conventional first aid, and the two should sit side by side. When you are processing herbs, minor cuts, splinters, and skin irritation are occupational hazards, so having the basics within reach matters.
- Adhesive bandages (assorted sizes): for minor cuts and abrasions during herb processing or gardening.
- Sterile gauze pads and medical tape: for larger wounds that need more coverage than a plaster provides.
- Antiseptic wipes: for cleaning a wound before applying any herbal topical. Never apply a herbal preparation to an uncleaned wound.
- Tweezers: for splinter removal, particularly relevant if you are working with thorny plants or dried woody material.
- Calendula salve: once you have made your first batch, keep a small tin in the first-aid section. It is well-suited to minor skin irritation, dry cracked skin, and post-wound care after the wound has closed and been cleaned.
The principle here is layering: conventional first aid handles the immediate clinical need; herbal topicals support recovery afterwards. Calendula salve applied to a healing cut is appropriate. Applying it to an open, uncleaned wound is not. Keep this distinction clear, and your kit will serve you safely.
Store the first-aid supplies in a clearly marked pouch or box within your kit, separate from your herb jars and preparation tools. When you need them, you want to find them immediately.
Expert guidance for building and using your kit safely
The single most useful habit you can develop is keeping a preparation record. Because herbal products lack the regulatory consistency of licensed pharmaceuticals in the UK, your own documentation becomes your quality control. Record the herb name and source, the batch date, the preparation method, the quantities used, and any observations about the finished product. This is not bureaucracy; it is how you replicate what works and avoid repeating what does not.
On UK regulations: herbal products sold commercially are governed by the Traditional Herbal Registration (THR) scheme administered by the Medicines and Healthcare products Regulatory Agency (MHRA). For personal home use, you are not required to register anything, but you are responsible for using herbs safely. This means researching contraindications before adding a new herb to your kit, particularly if you take prescription medication. St. John’s wort, for example, is widely available but interacts with a significant number of common drugs including anticoagulants and antidepressants. Checking a reliable reference such as the herbal medicine guidance from Johns Hopkins Medicine before using any new herb is a sensible baseline.
Personalising your kit starts with honest self-assessment. A whole body wellness checklist can help you identify which health areas you actually want to support, rather than building a kit around what sounds impressive. If you rarely have digestive issues, a heavy investment in ginger and fennel makes less sense than focusing on the sleep and stress herbs you reach for every week.
- Consult a qualified medical herbalist or your GP before using herbs for any ongoing health condition.
- Cross-reference any herb with your current medications for known interactions.
- Adjust quantities and herbs as your needs change, removing what you no longer use.
- Treat your kit as a living resource, not a fixed collection.
Pro Tip: The Getgutted herbal wellness guide covers how to integrate botanical remedies into a broader personal wellness routine, including detox and hormonal balance. It is a useful companion to the practical kit-building steps above.
Getgutted’s herbal wellness kits: ready when you are
Building a kit from scratch takes time, and sourcing individual herbs, tools, and containers separately adds up faster than most people expect. Getgutted offers an alternative that suits readers who want a well-considered starting point without the sourcing legwork.
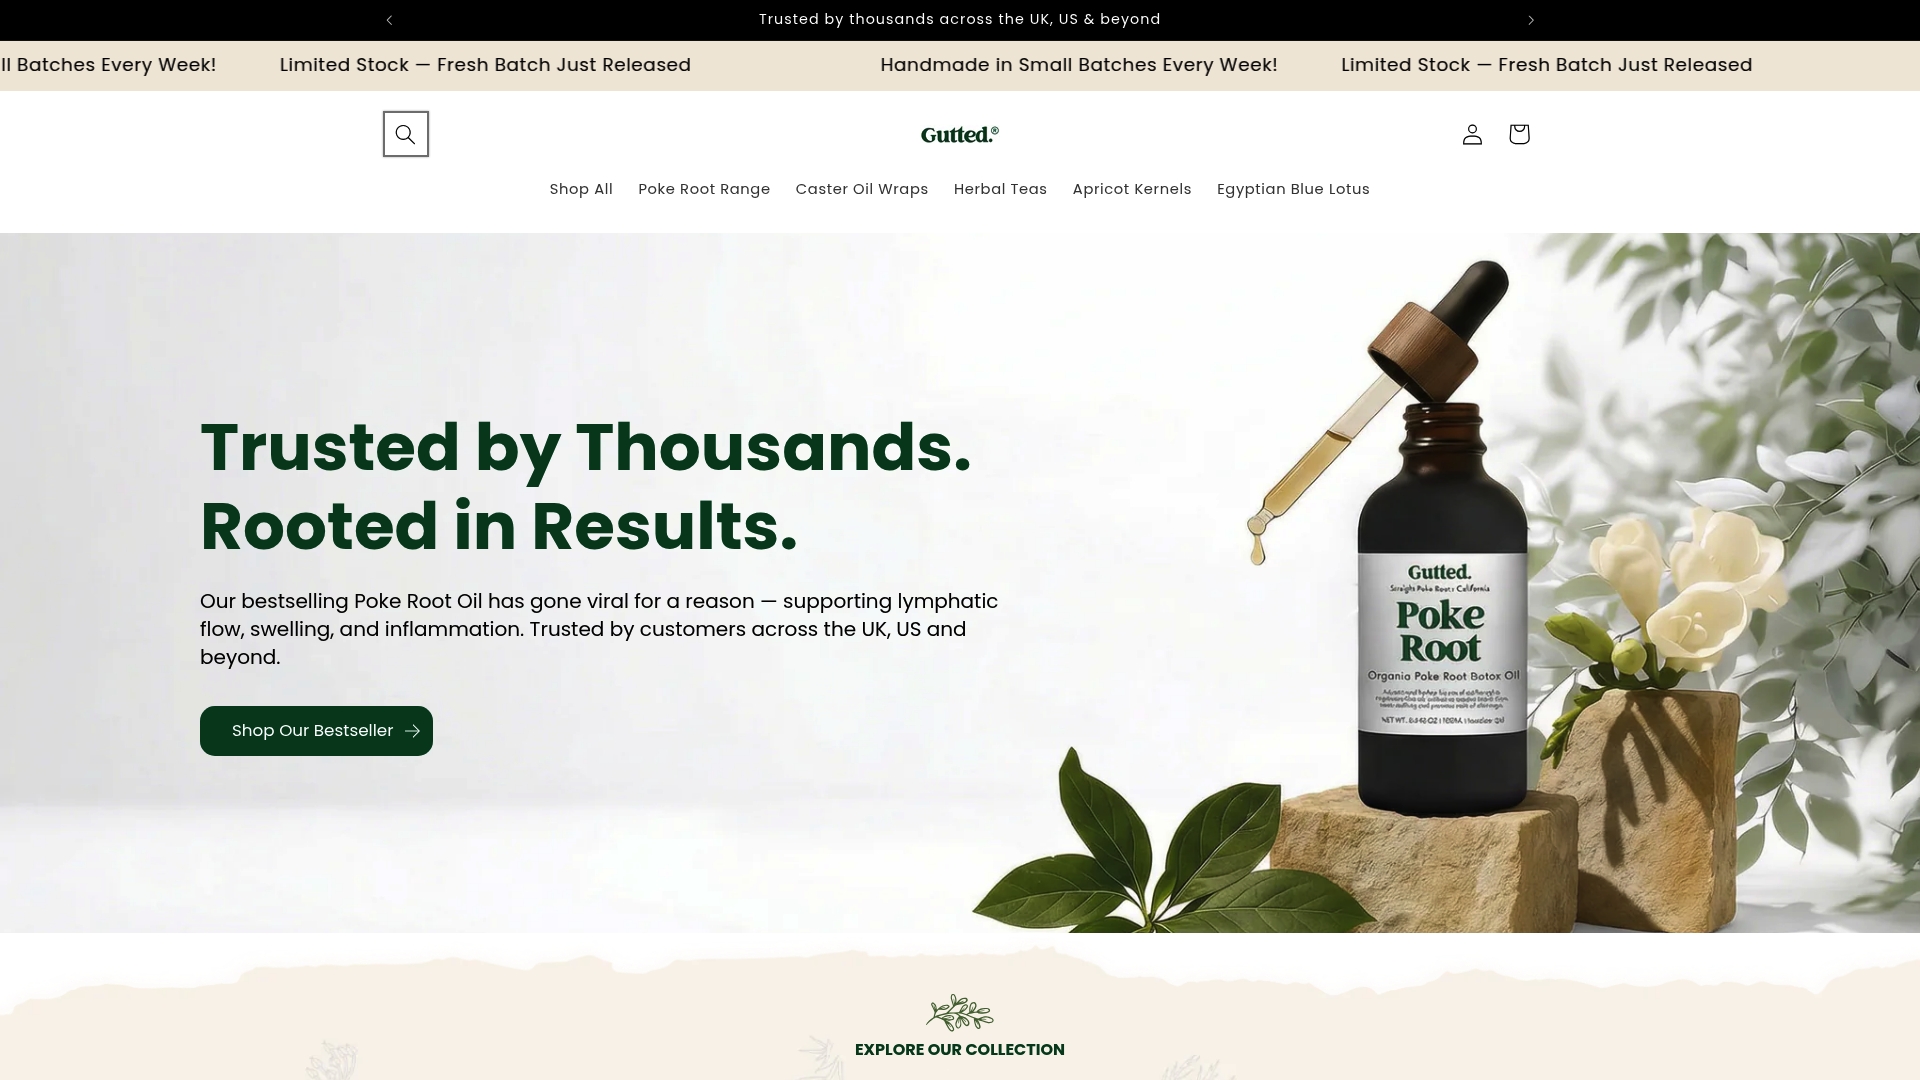
Getgutted’s wellness kits are handcrafted in small batches using botanicals selected for purity and potency, with a formulation philosophy rooted in traditional herbal practice and backed by ingredient transparency. Each kit is designed around real wellness goals, whether that is lymphatic support, hormonal balance, or everyday detoxification, rather than a generic assortment of popular herbs. The herbal teas collection extends the kit with targeted blends for digestion and calm. If you want to skip the trial-and-error phase of building your own kit and start with something that has already been curated with care, browse the Getgutted wellness kits and find the one that matches where you are right now.
Key takeaways
A well-built herbal wellness kit starts with a few core herbs, the right preparation tools, and airtight labelled storage, then grows iteratively based on what you actually use.
| Point | Details |
|---|---|
| Start with core herbs | Chamomile, peppermint, and calendula cover the widest range of everyday needs for a beginner. |
| Tools before advanced herbs | A mortar and pestle, kitchen scale, and fine mesh strainer are more useful early on than a large herb collection. |
| Label every container | Record herb name, preparation date, and dosage notes on every jar; unlabelled containers are a safety risk. |
| Keep first aid alongside herbs | Adhesive bandages, antiseptic wipes, and sterile gauze belong next to your herbal workspace, not in a separate room. |
| Getgutted for a curated start | Getgutted’s handcrafted wellness kits offer a ready-made, botanically sound alternative to building from scratch. |