
How to Make Herbal Oil Naturally for Detox & Balance
Did you know that over 70 percent of people seek natural remedies for everyday wellness? Herbs and oils offer gentle yet effective ways to support the body, but the results depend on how well these ingredients are chosen and prepared. Understanding each step in the herbal oil infusion process unlocks their full healing power, guiding you to make a potent remedy that matches your needs and keeps its strength over time.
Quick Summary
| Key Point | Explanation |
|---|---|
| 1. Select high-quality dried herbs | Use coarsely chopped dried herbs for stability and concentrated potency, avoiding moisture-related spoilage from fresh herbs. |
| 2. Choose the right carrier oil | Select carrier oils based on their skin benefits, ensuring effective absorption and nourishment for your specific needs. |
| 3. Maintain low temperature during infusion | Use gentle heat below 50°C (120°F) to extract therapeutic compounds without degrading the herbs’ beneficial properties. |
| 4. Properly sterilize equipment | Always sterilize jars and utensils to prevent bacterial growth, ensuring the purity of your herbal infusion. |
| 5. Test for skin sensitivity | Conduct a patch test on a small skin area before wider use to check for allergic reactions to the herbal oil. |
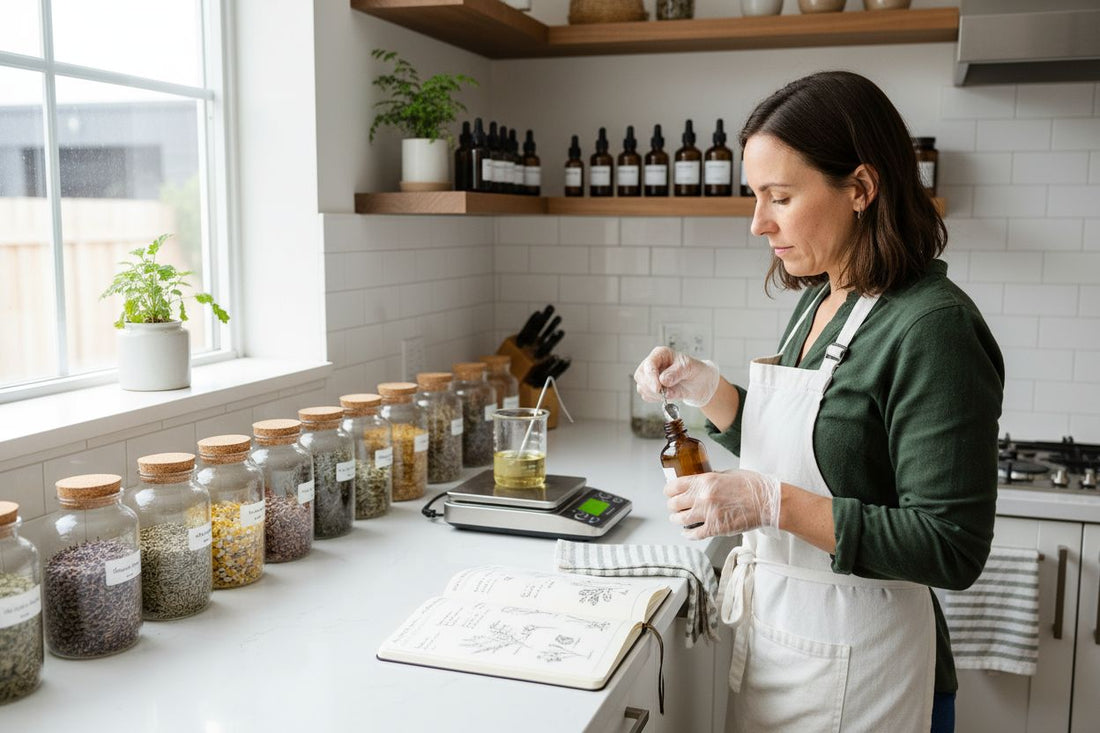
Step 1: Select quality herbs and carrier oil
In this critical first step, you will curate the foundational ingredients for creating your healing herbal oil infusion. The right herbs and carrier oil are key to producing an effective natural remedy that supports your body’s detoxification and balance.
Choosing your herbs requires strategic consideration. According to botanical wellness research, select dried herbs that offer specific therapeutic benefits. For inflammation reduction, calendula works wonderfully. If relaxation is your goal, lavender provides gentle support. Chamomile soothes skin irritations while rosemary can stimulate scalp health. Each herb brings unique properties to your healing blend.
When selecting herbs, prioritise high-quality dried botanicals that are coarsely chopped. Fresh herbs demand extra caution as they can introduce moisture and potential spoilage. Dried herbs ensure stability and concentrated potency for your infusion.
Your carrier oil selection is equally important. Different oils offer distinct advantages for skin absorption and healing. Jojoba balances natural oil production. Sweet almond nourishes dry sensitive skin. Olive oil creates a rich protective base. Lighter options like sunflower or fractionated coconut oil provide long lasting absorption.
Pro Tip: Always source herbs and oils from reputable organic suppliers to guarantee purity and maximum therapeutic potential.
With your carefully selected herbs and carrier oil ready, you are now prepared to create a powerful natural healing infusion. The next step involves precise preparation techniques that will transform these raw ingredients into a potent wellness remedy. read more about herbal preparation techniques.
Here’s a concise comparison of popular herbs and carrier oils for infusions:
| Ingredient | Key Benefits | Ideal Use |
|---|---|---|
| Calendula | Reduces inflammation | Soothing skin salves |
| Lavender | Promotes relaxation | Calming body oil |
| Chamomile | Soothes irritation | Sensitive skin blends |
| Rosemary | Stimulates scalp health | Hair & scalp treatments |
| Jojoba Oil | Balances oil production | All-purpose moisturiser |
| Sweet Almond Oil | Nourishes dry skin | Sensitive, dry skin care |
| Olive Oil | Rich, protective base | Healing massage oil |
| Sunflower Oil | Light, absorbs easily | Fast-absorbing blends |
Step 2: Prepare herbs for maximum potency
Now that you have selected your herbs and carrier oil, you are ready to prepare these botanical ingredients with precision to unlock their maximum healing potential. This crucial stage transforms raw herbs into a powerful therapeutic infusion.
Drying your herbs correctly is fundamental to creating a high-quality herbal oil. According to herbal preparation experts, herbs must be completely dry before infusion. Air-drying or using a food dehydrator on low heat helps eliminate moisture and concentrate the plant’s therapeutic compounds. Fresh herbs require extra attention. If you are using fresh herbs, allow them to wilt and air-dry for 24 to 48 hours to reduce moisture content and prevent potential spoilage.
Before beginning your infusion, sterilization is key. Thoroughly clean all your equipment including glass jars, utensils, and lids. Boiling or using a high-heat dishwasher cycle ensures a sterile environment that prevents unwanted bacterial growth. When preparing your herbs, aim for a standard ratio of approximately one part herbs to three parts carrier oil.
Carefully press your dried herbs into the sterilized jar, taking care not to overly compact them. This gentle approach maximizes oil and herb contact, which enhances the extraction of therapeutic properties. explore our guide on key herbs for natural detox.
Pro Tip: Always work in a clean, dry environment and handle herbs with clean hands or sterilized utensils to maintain the purity of your herbal infusion.
With your herbs meticulously prepared, you are now ready to move on to the next exciting stage of creating your healing herbal oil infusion.
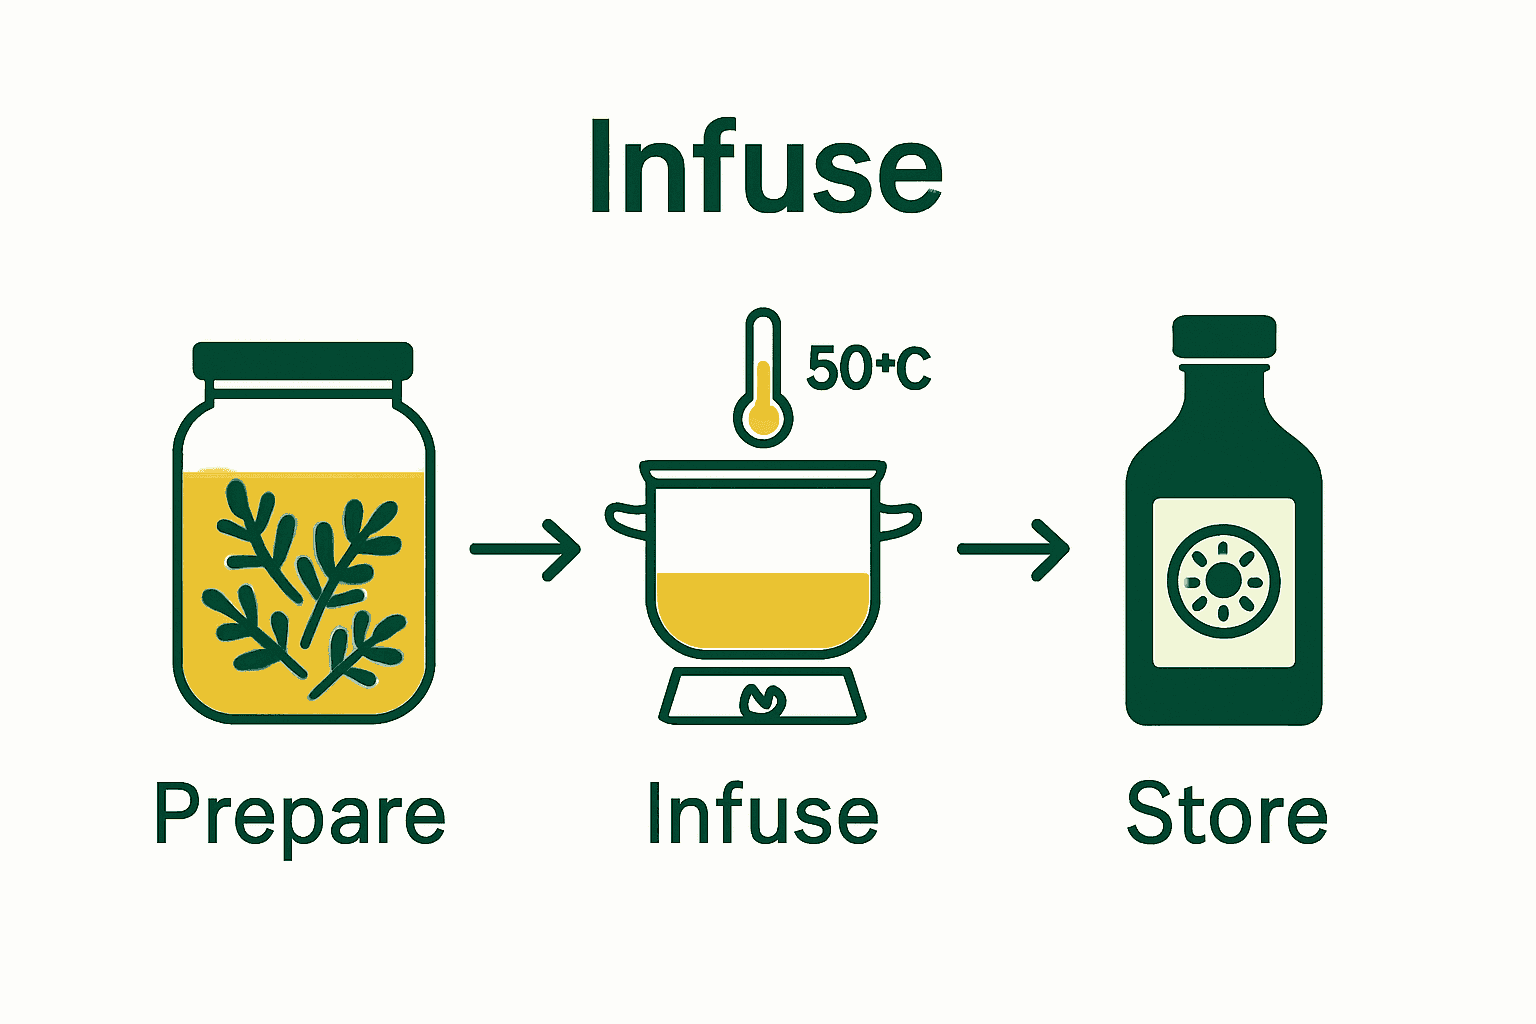
Step 3: Infuse herbs using gentle heat
With your herbs prepared and equipment sterilized, you are now ready to transform these botanical ingredients into a potent healing herbal oil through a careful infusion process. Gentle heat will be your ally in extracting maximum therapeutic benefits from your selected herbs.
According to herbal preparation experts, the key to successful herbal oil infusion is maintaining a low and consistent temperature. As research from botanical extraction studies indicates, keeping the temperature below 50°C (120°F) preserves the delicate heat-sensitive compounds while efficiently drawing out the herbs’ medicinal properties.
You have two primary methods for gentle heat infusion. The first is using a double boiler. Place your sterilized jar with herbs and carrier oil into a larger pot of water, creating a water bath that provides indirect and even heating. Alternatively, a slow cooker set on its lowest setting works wonderfully. Simmer your herbal mixture for approximately 2 to 3 hours, stirring occasionally to ensure even heat distribution.
Precision is crucial during this stage. According to common herbal preservation techniques, you want to avoid high temperatures that could degrade the herbs’ therapeutic qualities. If you are working with herbs containing essential oils or delicate compounds, keep a close eye on the heat and maintain a gentle warmth.
Pro Tip: Use a cooking thermometer to monitor the temperature and ensure you stay within the optimal 50°C range for maximum potency and preservation of healing properties.
Once your infusion time is complete, you will be ready to strain and store your powerful herbal oil.
VIDEO:video_content] [learn more about natural herbal wellness techniques.
Step 4: Strain and bottle your herbal oil
Congratulations on completing your herbal oil infusion. Now you will transform your botanical extract into a carefully preserved wellness remedy ready for use. This final stage ensures the potency and longevity of your handcrafted herbal oil.
Straining requires precision and the right tools. According to herbal preservation experts, cheesecloth or a fine-weave towel works perfectly for separating herbs from your infused oil. Gently squeeze the herbs to extract every precious drop of medicinal goodness. The goal is maximum extraction while maintaining the oil’s purity.
Choosing the right storage container is crucial for preserving your herbal oil’s therapeutic properties. Dark glass bottles such as amber or cobalt blue protect your infusion from light degradation. When bottling, leave a small amount of headspace to allow for potential expansion and ensure a secure seal.
Labelling is more than just an organizational step. Clearly mark your bottle with the herb type, carrier oil used, infusion date, and any specific intended use. This helps you track the oil’s potency and freshness. For extended shelf life, consider adding a few drops of vitamin E as a natural preservative.
Pro Tip: Always perform a small patch test before applying your herbal oil topically to check for any potential skin sensitivities.
With your herbal oil carefully strained and bottled, you have created a powerful natural wellness tool. explore our lymphatic support oil blends to complement your herbal journey.
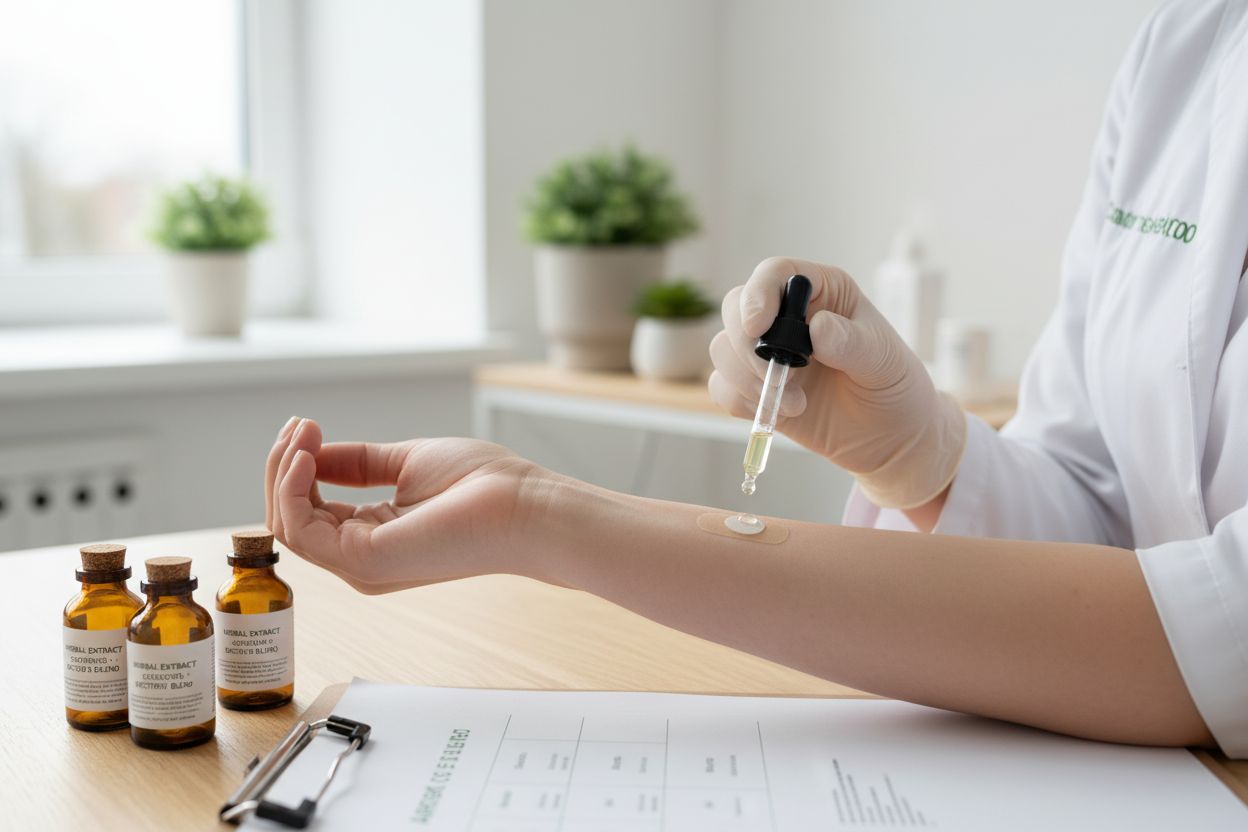
Step 5: Test and store your finished oil
With your herbal oil now carefully crafted, the final steps involve ensuring its safety, potency, and proper preservation. This crucial stage transforms your botanical creation from a home project into a reliable wellness tool that you can confidently use.
Before applying your herbal oil widely, performing a comprehensive patch test is essential. According to herbal preparation experts, apply a small amount of oil to a discrete area of skin and wait 24 hours to observe any potential allergic reactions or sensitivities. This precautionary step is particularly important when working with potent botanical extracts that might trigger unexpected skin responses.
Storage plays a critical role in maintaining your herbal oil’s therapeutic properties. Research from botanical preservation studies indicates that dark glass bottles stored in cool, dark environments help maintain the oil’s potency and extend its shelf life. Room temperature storage can preserve your herbal oil for up to one year. Adding a vitamin E capsule can further extend its usability to approximately two years by preventing oxidation.
When storing your herbal oil, choose a location away from direct sunlight and heat sources. A cupboard or pantry shelf works perfectly. Ensure the bottle is tightly sealed to prevent moisture or contamination. Regularly inspect your oil for any changes in colour, smell, or consistency that might indicate degradation.
Pro Tip: Mark your storage location with the oil’s creation date and expected expiration to track its freshness and potency.
With your herbal oil tested, stored, and ready, you have successfully created a powerful natural wellness remedy. explore our lymphatic support protocols to further enhance your herbal wellness journey.
Support Your Body’s Balance with Proven Herbal Oils
If you have ever struggled to craft effective herbal remedies at home or worry your herbal infusions are not reaching their full detox potential, you are not alone. Many readers want to harness nature’s healing power but face challenges in sourcing trustworthy herbs, achieving proper extraction, and storing oils for lasting benefit. Choosing the right botanicals and preparation methods is vital for safe, potent results.
Would you like your oil infusions to be as effective as they are in clinical herbalism? Discover our Organic Root Oil Range, specially crafted to support your body’s natural detox pathways. Each small batch is handmade in London using the same methods detailed in this article, ensuring maximum purity and therapeutic strength.
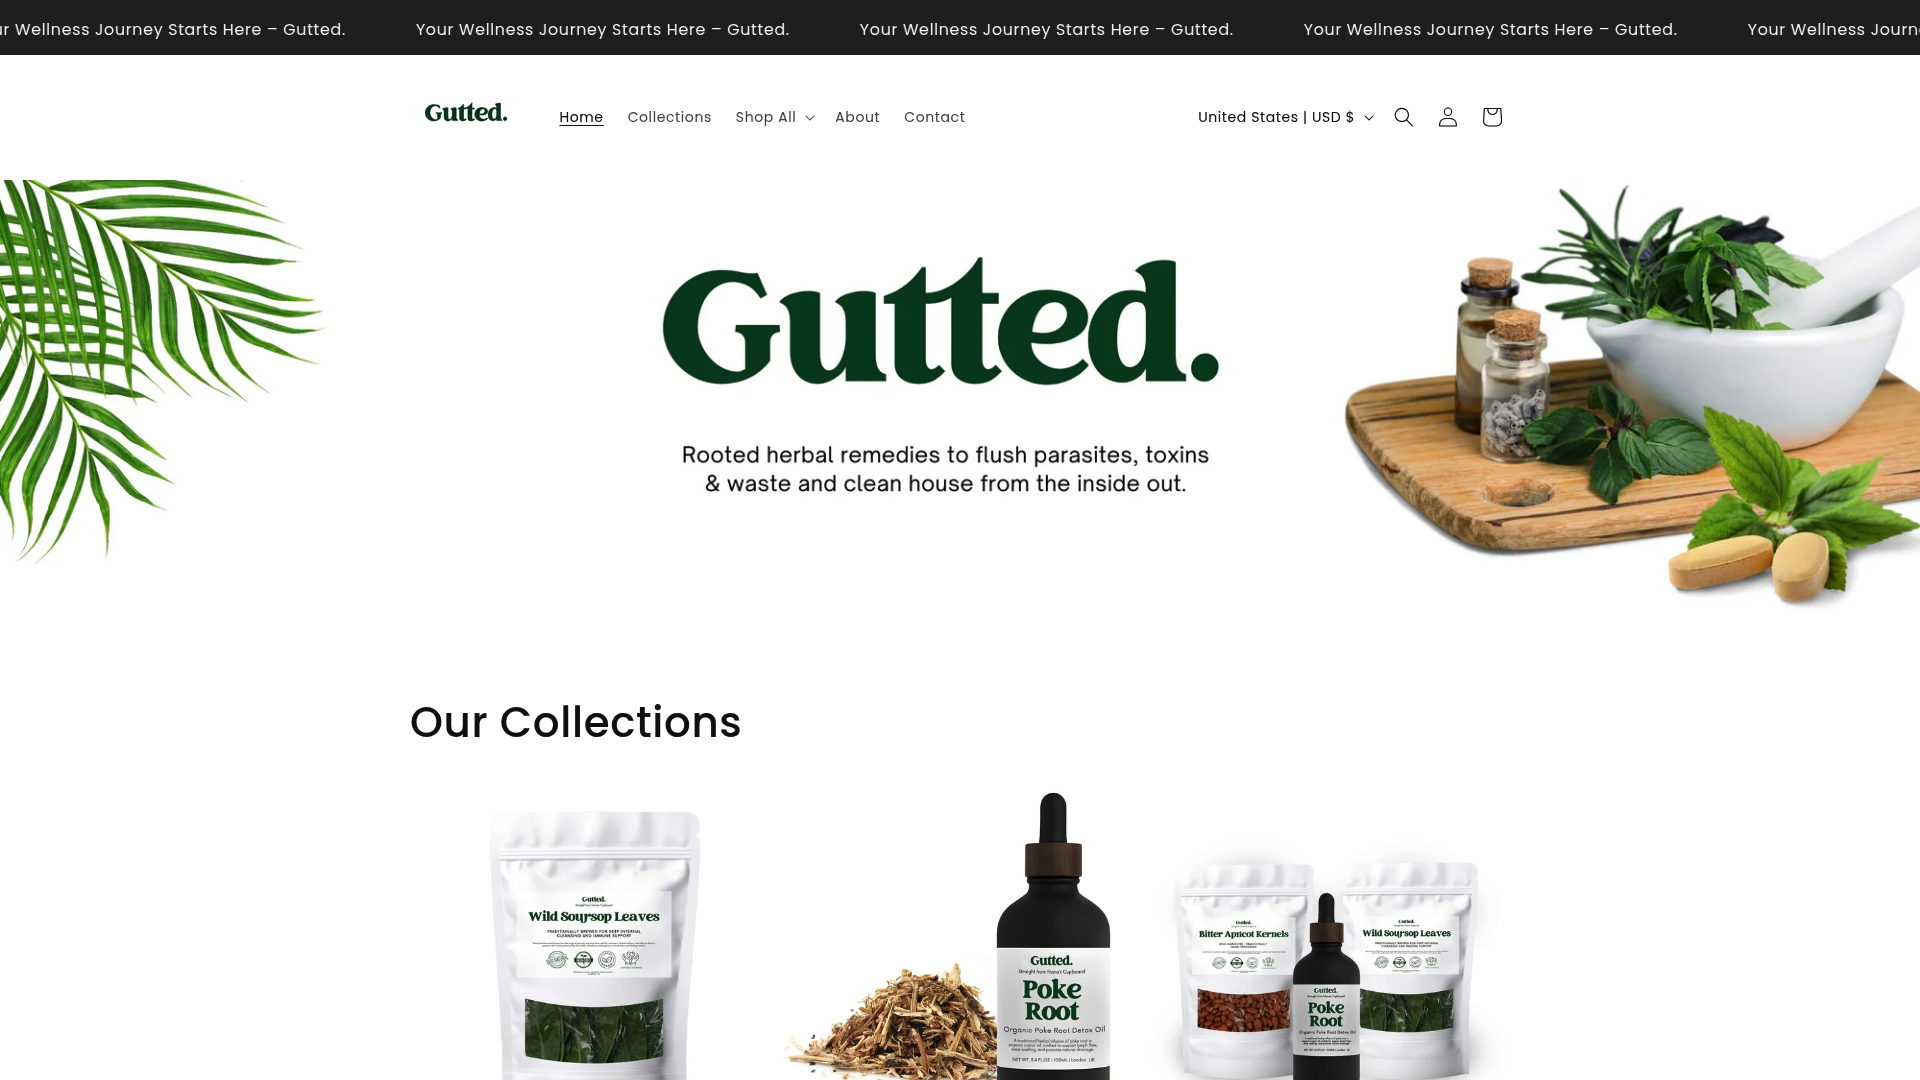
Do not leave your wellness to trial and error. Visit Gutted™ for expertly blended, tradition-inspired herbal oils and explore our selection of detox herbs and capsules to complement your routine. Experience the confidence of using remedies formulated for true balance and see how high-quality herbal solutions can transform your daily self-care. Explore now and bring authentic, British-crafted wellness into your life today.
Frequently Asked Questions
How do I select the right herbs for making herbal oil naturally for detox and balance?
To select the right herbs, focus on dried botanicals known for their therapeutic benefits, such as calendula for inflammation or lavender for relaxation. Start by choosing high-quality, coarsely chopped dried herbs to ensure stability and potency in your infusion.
What carrier oils are best for herbal oil infusions aimed at detox and balance?
Carrier oils like jojoba, sweet almond, or olive oil are excellent choices for herbal infusions. Choose an oil based on your skin type and the benefits you seek, such as nourishing dry skin or creating a rich protective base.
What is the ideal ratio of herbs to carrier oil when preparing herbal oil for detox?
The standard ratio is approximately one part herbs to three parts carrier oil. For example, if you use 1 ounce of dried herbs, combine it with about 3 ounces of carrier oil to achieve maximum potency.
How long should I infuse the herbs in the oil for effective herbal oil extraction?
Infuse your herbs in the carrier oil for about 2 to 3 hours using gentle heat. Monitor the temperature to stay below 50°C (120°F) to preserve the herbs’ delicate compounds while extracting their medicinal properties.
How can I test my herbal oil before using it on my skin?
Perform a patch test by applying a small amount of the herbal oil to a discreet skin area and wait for 24 hours. This step helps identify any allergic reactions or sensitivities before applying the oil more widely.
How should I store my finished herbal oil to maintain its potency?
Store your herbal oil in a dark glass bottle away from direct sunlight and heat sources. A cool, dark cupboard is ideal, and ensure the bottle is tightly sealed to prolong its shelf life for up to one year.
Recommended
- 7 Key Herbs for Natural Detox and Wellness Support – Gutted.
- How to Make Herbal Infusions Naturally for Wellness – Gutted.
- Botanicals in Detox: Complete Guide – Gutted.
- 7 Essential Detox Herbs Checklist for Natural Body Balance – Gutted.
- Best Hair Oil for Hair Growth Homemade: Recipes & Results 2025 | MyHair
- Top Benefits of Herbal Skincare for Healthy, Radiant Skin in 2025